
Table of Contents
If you want to create custom models for Source Filmmaker, you will quickly learn that building a model is only part of the job. Before your character, prop, or animation can appear inside the program, it must go through a process called sfmcompile. This process changes your project into files that the Source Engine can understand and use.
Many beginners feel confused when they first see QC files, SMD files, or compile logs. It may look difficult at first, but the workflow becomes much easier when you understand each step. Learning one task at a time helps you avoid mistakes and makes every new project easier than the last one.
This guide explains everything in simple English. You will learn what the compile process does, which tools you need, how to prepare your files, and how to avoid common problems. By following these steps, you can build better models, save time, and enjoy working with Source Filmmaker.
What Is SFMCompile and Why Does It Matter?
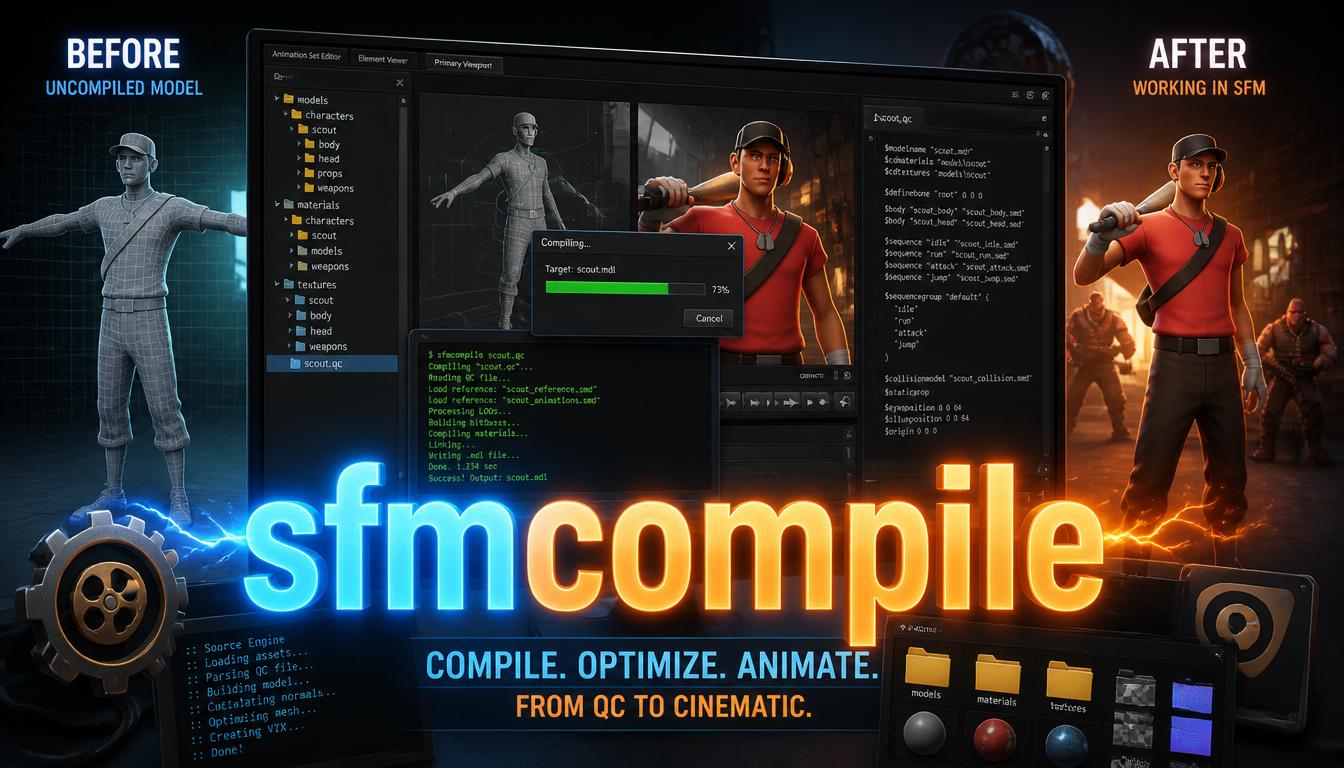
Many people think creating a 3D model is enough to use it in Source Filmmaker. In reality, the Source Engine cannot read common 3D files like FBX or OBJ by itself. The engine only understands its own model format. This is where sfmcompile becomes an important part of the workflow. It converts your project into engine-ready files so everything works correctly inside Source Filmmaker.
Think of the compile process like translating one language into another. Your modeling software speaks one language, while Source Filmmaker speaks another. The compiler acts as the translator between them. Without this translation, the program cannot display your model, textures, animations, or physics correctly. Instead, you may see missing models, broken animations, or the famous purple-and-black checkerboard texture that many beginners experience.
During the compile process, several different parts of your project are combined into one complete package. The model geometry is included along with texture information, skeleton data, animation sequences, and collision details if your project uses physics. A QC script tells the compiler where every file is located and how everything should be connected. If one file is missing or one path is incorrect, the compile may fail or the finished model may not work properly.
Learning this process is valuable because every custom Source Filmmaker project depends on it. Whether you create a simple chair, a detailed weapon, or a fully animated game character, the same basic workflow applies. Once you understand how the process works, fixing problems becomes much easier. Instead of guessing what went wrong, you can read the compile log, make small corrections, and build your project again with confidence.
Essential Tools You Need Before Starting
Before you begin compiling models, it helps to prepare your workspace. Having the right software installed saves time and prevents many common errors. Every tool has a different purpose, and together they create a smooth workflow from modeling to testing inside Source Filmmaker. Beginners often try to skip this preparation, but spending a little time setting everything up makes future projects much easier.
The most important tool is studiomdl.exe, which is the official compiler used by the Source Engine. This program reads your QC file and creates the model files that Source Filmmaker can load. Many experienced creators also use Crowbar because it provides a simple graphical interface instead of requiring command-line commands. Crowbar displays compile logs clearly, making it easier to understand errors and warnings without advanced technical knowledge.
You also need a 3D modeling program where your project is created. Blender is the most popular choice because it is free, powerful, and supported by a large community. Some professional artists use Autodesk Maya or 3ds Max because they include advanced tools for animation and modeling. No matter which software you choose, the goal is the same: create clean models, prepare textures, build a proper skeleton, and export the files needed for the compile process.
A good text editor is another important part of your workflow because QC files are plain text documents. Programs like Notepad++ make editing easier by showing line numbers and highlighting text. When the compiler reports an error, you can quickly jump to the correct line and fix the problem. Keeping your files organized in separate folders for models, materials, textures, animations, and QC scripts also helps reduce mistakes. A clean project folder makes every future update faster, especially when you return to older projects after several weeks or months.
Preparing Your Project and Running the Compile Process
A successful compile starts long before you press the compile button. The quality of your project setup has a direct effect on the final result. If your folders are messy, files have different names, or textures are stored in the wrong place, the compiler will struggle to find everything it needs. Spending a little extra time organizing your project helps you avoid many common problems later.
Begin by creating a clear folder structure for your work. Keep your model files, texture files, material files, animation files, and QC script in separate folders. Use simple file names without unnecessary spaces or special symbols. If you rename a model or move a texture into another folder, remember to update the QC file so every path still points to the correct location. Keeping everything organized makes future editing much easier.
After your project is organized, export your model from your 3D software. Make sure the scale is correct before exporting because incorrect scaling is one of the most common beginner mistakes. Apply transforms if your software requires them, and check that your skeleton uses proper bone names. If your project includes physics, export the collision mesh separately. Verify that all material files are present before moving to the next step. A few extra minutes of checking can save hours of troubleshooting later.
The QC file is the heart of the compile process. It tells the compiler how every asset should be used. Inside this file, you define the model name, body file, material folder, animation sequences, and collision information. Every line should match the real file names inside your project. Even one missing letter can stop the compile from working. Once the QC file is ready, open Crowbar or run studiomdl.exe, select the QC script, and begin the compile. Carefully read the compile log after it finishes. Warnings may not stop the build, but fixing them early helps create cleaner and more reliable models.
Understanding Output Files and Solving Common Problems
After the compile finishes successfully, several new files are created. Each file has its own purpose inside the Source Engine. Together, these files allow Source Filmmaker to display your model, play animations, and use physics correctly. Learning what each file does helps you understand why a missing file can stop your model from loading.
The main output file is the MDL file. This is the file that Source Filmmaker loads when you add a model to a scene. Other files support the main model by storing extra information. VVD files contain vertex data, VTX files help with rendering performance, and PHY files store collision and physics information. Some projects also include animation files depending on how the model was built. Every file works together as one complete package.
Many beginners become worried when something goes wrong after compiling. The good news is that most problems have simple causes. Purple-and-black textures usually mean the material files cannot be found. Invisible models often happen because of incorrect scaling or export settings. Broken animations usually point to problems with the skeleton or bone names. Instead of guessing, always read the compile log first because it often tells you exactly where the problem started.
It also helps to test your model immediately after every successful compile. Load it into Source Filmmaker and examine it from different angles. Rotate the joints, play the animations, and check every texture. If you notice a problem, return to the original project, fix only that issue, and compile again. Making one small change at a time is much easier than changing many things at once because you always know which edit caused the result.
Best Practices for Better Results Every Time
Good habits can make the compile process much smoother. Many experienced creators do not succeed because they never make mistakes. They succeed because they follow a consistent workflow that helps them find and fix mistakes quickly. Building these habits early will improve every project you create in the future.
Start with simple projects before trying detailed characters with complex animations. A small object with one texture teaches the same basic workflow without adding unnecessary difficulty. Once you understand the complete process, you can slowly move to larger projects with multiple animations, facial expressions, and physics. Learning in small steps builds confidence and reduces frustration.
Keep backup copies of your project files before making major changes. If something breaks, you can return to the previous version instead of starting again from the beginning. Many creators also keep copies of QC files that worked well because these scripts can serve as templates for future models. Reusing a successful structure saves time while reducing typing mistakes.
Another useful habit is studying projects that already work correctly. Decompiling official Source Engine models allows you to examine their folder structure, QC scripts, material paths, and naming methods. You should not simply copy these files, but you can learn many useful techniques from them. As your experience grows, you will notice patterns that make compiling easier and faster. Small improvements in organization, testing, and file management may seem simple, but together they create a reliable workflow that supports every future Source Filmmaker project.
Advanced Tips to Improve Your SFMCompile Workflow
Once you understand the basics, you can improve your workflow and complete projects with fewer errors. Advanced techniques do not mean making everything more difficult. Instead, they help you stay organized, save time, and create models that perform better inside Source Filmmaker. Even small improvements can make a big difference when you work on larger projects.
Instead of waiting until your model is completely finished, compile it after every major update. This makes it much easier to find problems because you know exactly which change caused the error. If you add new animations, update textures, or change the skeleton, test the model right away. Small testing sessions are much faster than trying to fix many problems at once.
Many experienced creators also build their own project templates. A template already contains folders, material locations, and a basic QC file. When starting a new project, they simply copy the template instead of creating every folder again. This saves time and reduces typing mistakes.
Build Better Project Habits
Good project habits help every creator, whether you are making a simple prop or a detailed character.
- Create separate folders for models, textures, materials, animations, and QC files.
- Use short, clear file names that are easy to remember.
- Save backup copies before making major changes.
- Keep notes about changes that solved previous compile errors.
- Test the model after every important update.
- Remove old or unused files from the project folder.
These habits may seem small, but they make your projects cleaner and much easier to manage over time.
Learn from Real Examples
One beginner created a custom chair model for a short animation. The model looked perfect in Blender, but after compiling, it appeared with purple-and-black textures. At first, the creator believed the model export had failed.
After reading the compile log, the real problem became clear. The material folder listed in the QC file did not match the actual folder where the VMT files were stored. After correcting the folder path and compiling again, the chair loaded perfectly with all textures in place.
Another creator made a game character that appeared far too large inside Source Filmmaker. The compile completed without errors, but the scale was incorrect because transforms were not applied before export. After applying the correct scale in the 3D software and compiling again, the character appeared at the proper size. These examples show why reading the compile log and testing after each change are two of the most valuable habits you can develop.
Beginner Checklist and Long-Term Learning Path
Everyone starts as a beginner, and nobody learns the complete workflow in one day. The best approach is to practice regularly and improve one skill at a time. Each successful project teaches something new, making future models easier to compile and troubleshoot.
Do not worry if your first project has mistakes. Even experienced artists sometimes forget to update a file path or make a small typing error inside the QC script. The important thing is learning how to identify the problem and fix it calmly instead of becoming frustrated.
Quick Checklist Before Every Compile
Before starting the compile process, review these simple points.
- Make sure every file is in the correct folder.
- Confirm that texture files exist.
- Check that file names match the QC script.
- Verify model scale before exporting.
- Export the latest version of every required file.
- Save your project before compiling.
Following this checklist only takes a few minutes but can prevent many common problems.
Continue Improving Your Skills
After you become comfortable with simple models, you can begin learning more advanced features.
- Create animated characters with multiple sequences.
- Learn how collision models improve physics.
- Experiment with facial expressions and flex controls.
- Build optimized models with different detail levels.
- Study official Source Engine models for new ideas.
- Practice reading compile logs until they become easy to understand.
Remember that every successful creator learned through practice. Each project teaches new lessons, and every mistake helps you build stronger skills for future work. Stay patient, keep experimenting, and enjoy the learning process.
Conclusion
Learning sfmcompile may seem difficult when you first begin, but the process becomes much easier once you understand each step. By organizing your project, creating a clean QC file, checking your file paths, and reading the compile log, you can solve most problems without wasting hours. Building good habits early will save time and help you create better models for every future project.
The best way to improve is through regular practice. Start with simple models, test them often, and make small changes instead of large ones. As your confidence grows, you can move on to animated characters, advanced physics, and more detailed projects. Every successful compile teaches something valuable, helping you become a more skilled and confident Source Filmmaker creator.
FAQs
Q: What is sfmcompile used for?
A: It converts 3D project files into Source Engine model files that Source Filmmaker can load and use.
Q: Why does my model show purple-and-black textures?
A: This usually means the material files are missing or the texture path inside the QC file is incorrect.
Q: Which software is commonly used for compiling models?
A: Many creators use Crowbar together with studiomdl.exe because they make the compile process easier to manage.
Q: Can beginners learn the compile process?
A: Yes. Starting with simple models and practicing each step helps beginners understand the workflow quickly.
Q: How can I reduce compile errors?
A: Keep your folders organized, check your QC file carefully, verify file paths, and test your model after each major change.
Q: Does sfmcompile work with Source 2 projects?
A: No. It is designed for the original Source Engine. Source 2 uses a different asset pipeline and different tools.